
Why You Should Mod Your Mechanical Keyboard (And How to Do It Safely)

If you’re reading this, you’ve probably spent a little too much time on “Keyboard YouTube” or scrolling through r/MechanicalKeyboards. You’ve heard that deep, marble-like “thock” sound, and suddenly, your standard out-of-the-box keyboard feels… well, a bit hollow.
I’ve been there. I remember my first mechanical board—I thought it was perfect until I realized the spacebar rattled like a bag of loose change. That’s when I fell down the rabbit hole of modding.
The good news? You don’t need an engineering degree to transform your typing experience. Here’s why you should consider modding your board and, more importantly, how to do it without turning your expensive peripheral into a paperweight.
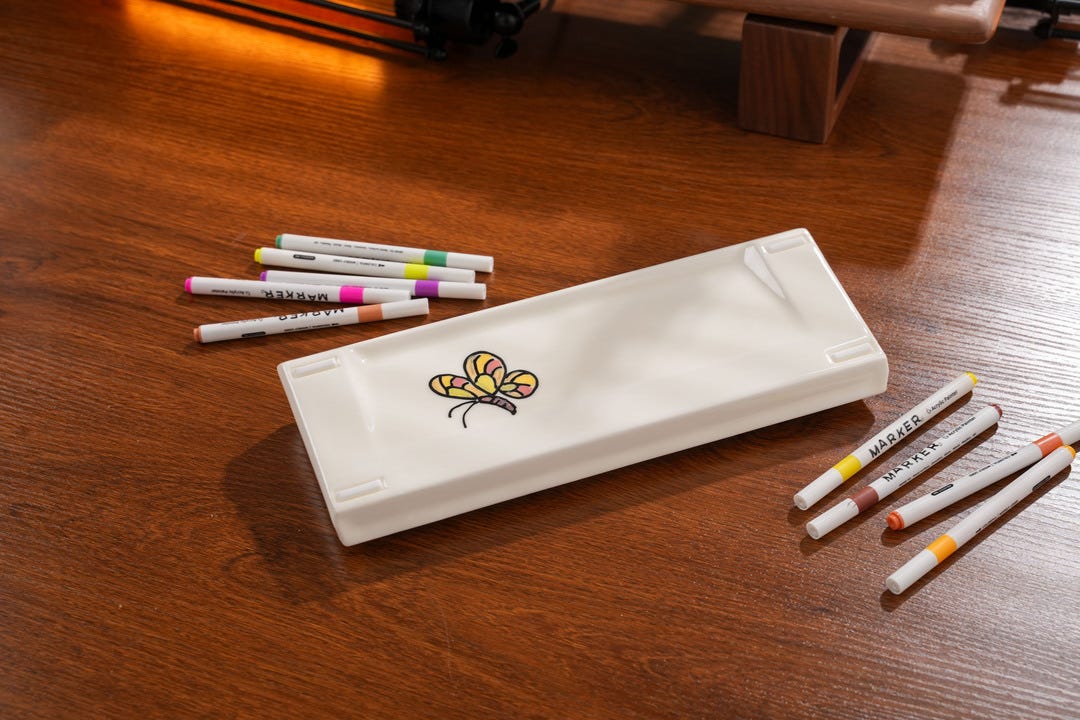
Wy Bother Modding? (The “Feel” Factor)
For most of us in the US, we spend 8+ hours a day behind a desk. Your keyboard is your primary interface with the digital world. Why settle for “okay” when you can have “sublime”?
Acoustics: Modding allows you to tune the sound. Whether you want a muted, professional “clack” for the office or a deep, satisfying “thock” for your home setup, custom mods make it happen.
Tactile Comfort: Factory switches often come with a “scratchy” feel. Proper lubrication (lubing) makes every keystroke feel like butter.
Ergonomics & Consistency: Modding your stabilizers ensures that your larger keys (Spacebar, Shift, Enter) don’t wobble or tilt, reducing finger fatigue over long sessions.
Self-Expression: Your keyboard should be as unique as your workspace. It’s the ultimate desk-side DIY project.
Safety First: Don’t Skip This Part
Before we grab the screwdrivers, let’s talk about Risk Management.
Check Your Warranty: Most “pre-built” brands (like Corsair, Razer, or Logitech) will void your warranty the second you open the case. If your board is brand new and expensive, proceed with caution.
Unplug Everything: It sounds obvious, but static electricity or a short circuit can fry your PCB (Printed Circuit Board).
The “Hot-Swap” Advantage: If your keyboard is Hot-Swappable, modding is 100% safe because you don’t need to solder. If it’s not, you’ll need a soldering iron—which is where the risk of permanent damage increases.
The “Beginner-Friendly” Modding Roadmap
You don’t have to do everything at once. Here is the safest sequence for a US-based enthusiast:
1. The “Tape Mod” (Tempest Mod)
What it is: Applying 1-3 layers of blue painter’s tape to the back of the PCB.
Why: It acts as a low-pass filter, reflecting high-frequency sounds and emphasizing the “deep” tones.
Pro Tip: Only use Blue Painter’s Tape (Masking Tape). Never use duct tape or electrical tape, as they can leave conductive residue or trap too much heat.
2. Lubing Your Switches (The Game Changer)
What it is: Applying a thin layer of specialized grease (like Krytox 205g0) to the internal parts of the switch.
Why: It eliminates friction and “spring ping.”
Safety Tip: Less is more. Over-lubing can make your switches feel mushy and “sluggish.”
3. Stabilizer Tuning (The “Holee” Mod & Clipping)
What it is: Adding small bits of band-aid or foam inside the stabilizer housing.
Why: This is the #1 way to kill that annoying “rattle” on your Spacebar. It makes the board feel premium and solid.
The Golden Rule: Use the Right Tools
Don’t use a kitchen knife to pry open your switches. If you’re in the US, you can easily find a basic “Keyboard Modding Kit” on Amazon or specialty sites like Divinikey or NovelKeys. You’ll need:
A wire keycap puller (plastic ones scratch your caps!)
A switch puller
A small fine-tip brush for lubing
A precision screwdriver set
Final Thoughts
Modding your mechanical keyboard is a meditative process. It’s about taking something mass-produced and making it yours. Start small—maybe just some tape and better keycaps—and see how it feels.
Your fingers (and your ears) will thank you.
What’s your biggest keyboard annoyance? The rattle? The scratchy feel? Let me know in the comments, and I might do a deep dive on how to fix that specific issue next week!
Enjoyed this guide? Subscribe to Alpha for more desk setup tips, tech reviews, and DIY guides delivered straight to your inbox.